


How to Know If an Electric Stove Is Going Bad
Whether you are cooking dinner for your family or running a busy home, an electric range that starts acting up can throw a serious wrench into your routine. A burner that completely dies is obvious enough, but in my years of diagnosing and fixing appliances, I have learned that the most dangerous problems start quietly. They hide behind control knobs, inside wire harnesses, or deep within the back panel long before the unit stops working altogether.
Recognizing the early warning signs of a failing electric stove can save you hundreds of dollars in unnecessary parts. More importantly, it can protect your home from severe electrical hazards. Here is how to spot subtle warning signs, test your stove like a professional technician, avoid common DIY pitfalls, and keep yourself safe.
Subtle Warning Signs Most Homeowners Overlook
Most people do not give their stove a second thought until a heating element fails to turn on. However, one of the most critical warning signs of a failing electric stove is subtle, intermittent, and easy to miss if you do not know what to pay attention to.
Faint Clicking or Buzzing Sounds
If you hear a light clicking or continuous low buzzing coming from behind the control knobs or infinite switch while a burner is running, pay close attention. While some mechanical switches make a distinct click when turned on or off, continuous or rapid clicking during operation usually indicates electrical arcing across worn or dirty switch contacts.
Microscopic Heat Damage and Discoloration
Take a close look at your control knobs, the face of the control panel, and the rear terminal block where the main power cord attaches. Microscopic melting, slight warping of plastic parts, or faint brown and black discoloration on wire insulation are clear signs of localized overheating.
Loose terminal connections or degrading internal switch contacts create micro-arcs. These tiny electrical arcs generate intense, concentrated heat. Over time, that unmonitored heat slowly carbonizes nearby wire insulation and degrades plastic components. If left unaddressed, it eventually leads to a dead short circuit or even a structural kitchen fire before a circuit breaker ever trips.
Diagnosing Temperature Inconsistencies Step by Step
When a stove burner runs scorching hot even on a low setting, takes forever to boil a pot of water, or heats unevenly, the issue usually stems from a failing heating element, a faulty switch, or a poor connection. Before grabbing my diagnostic tools, I always start with a careful visual check.
Inspecting Physical Connections and Components
- For standard electric coil burners, remove the coil and inspect the sheath carefully. Look for bulges, blisters, flaking metal, or dark burnt spots along the element ring.
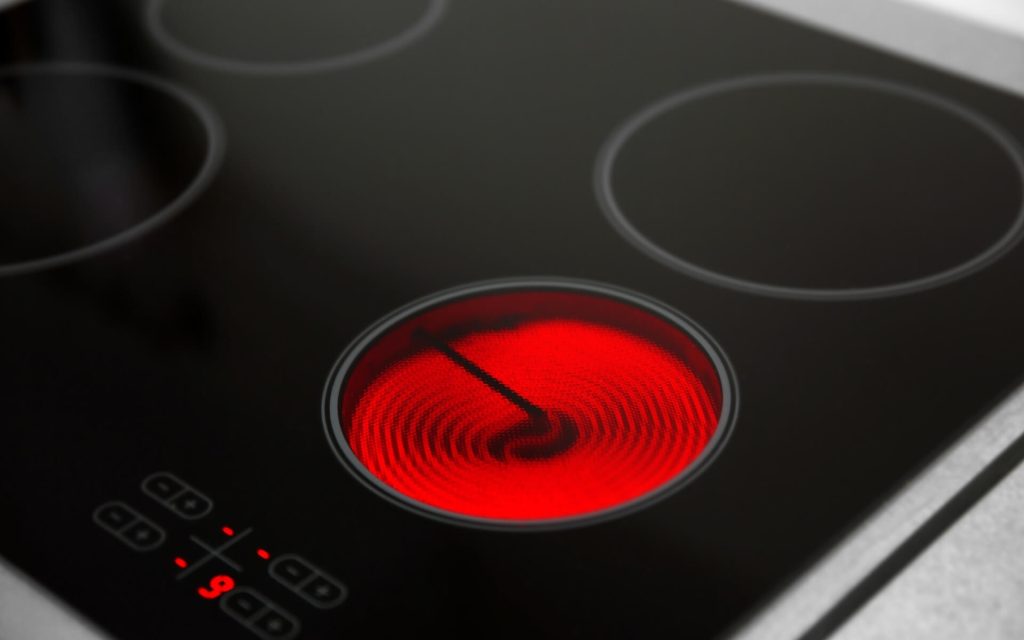
- For radiant glass top burners, look underneath the glass for dull spots or fractured heating ribbons.
- Check the receptacle blocks and burner terminals. The metal prongs on the element and the female contacts inside the block should be clean, shiny, and tight. Any presence of soot, corrosion, pitting, or loose fit means resistance will build up, generating unwanted heat and starving the burner of power.
Verifying Cookware and Environment
Sometimes the appliance itself is perfectly fine, but external factors cause temperature issues. Confirm that your pans are completely flat and match the diameter of the burner. Warped cookware creates uneven contact, making it seem like the element is failing. Additionally, avoid using aluminum foil liners on drip pans. Foil reflects intense heat back onto the receptacle block, causing premature terminal burnout and restricting proper ventilation around the coil.
Testing Elements and Switches with a Multimeter
When a physical inspection looks clean and normal, you should never guess which part to replace. Using a basic multimeter allows you to isolate whether a burner element is dead or the control switch has failed.
Testing Heating Element Resistance
Disconnect power to the range completely. Remove the wires or plug connection from the heating element so it is entirely isolated from the rest of the stove circuit. Set your multimeter to measure resistance in ohms. Touch your meter leads directly to the element terminals.
A healthy electric heating element typically reads a steady, low resistance, usually between 10 and 50 ohms depending on the wattage rating. If your meter shows infinite resistance or open loop (OL), the internal heating filament inside the element is broken, and the element must be replaced.
Testing Control Switch Output
If the heating element passes the resistance test with good readings, the failure is upstream at the infinite control switch or the main control board. With the element isolated, test for voltage output across the load terminals of the switch when turned to the ON position. If proper voltage enters the switch but no voltage exits to the element, the internal contacts inside the infinite switch are burned out and the switch must be replaced.
The Most Frustrating and Expensive DIY Rookie Mistakes
The single most expensive mistake I see homeowners and DIYers make is swapping out costly parts without proper testing. Throwing new components at a problem, hoping one fixes it, gets very expensive very quickly.
Skipping Dual-Leg Voltage Checks
Electric stoves operate on a heavy-duty 240-volt circuit, which consists of two separate 120-volt lines coming from your main electrical panel. A common mistake is assuming the stove has power because the digital clock, lights, and fan work. Those components only require a single 120-volt leg. If one side of your double-pole circuit breaker trips, the lights remain functional, but the burners will stay completely cold. Always check that both 120-volt legs are active at the wall outlet before buying replacement parts.
Replacing Boards Before Simple Meter Checks
It is surprisingly common for someone to order a $200 electronic control board or a set of infinite switches when the actual issue was a loose wire harness terminal or a simple blown thermal fuse. A five-minute continuity check with an inexpensive multimeter prevents wasting money on unneeded parts.
Overlooking Simple Temperature Recalibrations
Homeowners often tear apart their oven control dash because baking temperatures feel inaccurate, assuming the thermostat or board has failed. On modern electronic ranges, the oven temperature offset can often be recalibrated directly through the display menu, adjusting the set point up or down by up to 30 degrees without replacing a single part.
Kinking Capillary Tubes During Installation
When working on older ranges with mechanical thermostats, installing the new part requires feeding a thin copper sensing tube into the oven cavity. If you bend, kink, or snap this delicate hollow tube during installation, the hydraulic fluid inside leaks out and renders the brand-new replacement part useless immediately.
The Golden Rule of Stove Repair Safety
Working on electric ranges demands absolute respect for electrical safety. A 240-volt circuit carries more than enough energy to cause severe shock, arc flash burns, or fatal injury. You must follow strict safety steps before touching any wires or removing access panels.
Shut Off Power and Verify Zero Energy
Always switch off the dedicated double-pole circuit breaker assigned to your range in the main breaker box. If your panel directory is poorly labeled or confusing, turn off the main breaker to be entirely safe. Never assume the power is off just because the breaker handle looks positioned correctly.
Before putting your hands near internal wiring or terminal blocks, use a reliable non-contact voltage tester or a multimeter set to AC voltage to test the connections directly. Prove that there is zero voltage present across all power legs.
Unplugging Heavy Power Cords Correctly
When pulling a heavy range away from the wall to reach the rear panel or wall receptacle, use caution. Firmly grip the heavy molded plastic body of the plug when pulling it out of the wall outlet. Keep your fingers completely clear of the metal prongs, and pull straight back to avoid bending the contacts or damaging the receptacle.


